So came the headache that is picking suspension. In an ideal world I'd have splashed out on a set of KW V2s. Ran them on my Smart Brabus and again on my Z4. Perfect balance of comfort and performance and the build oozes quality. (I guess I am a sucker for KW products!)
But the main issue with it being a budget build is that KW's aren't on the cars. There was a kit that surfaced on eBay, but the state and age of the kit was questionable...and the seller wouldn't budge from his asking price of £500 for a used kit from 2010. Good luck.
I then started getting excited about slapping in some budget coils. Cheap and cheerful. Seems to get decent enough reviews on places like tramp drift and those looking to deck their cars...but I don't want to just park the car hard. I do want to use it.
Setting about finding a kit in between something like a set of V2's and the cheapest of the cheap kits from BC and HSD became incredibly tempting. The only issue was finding a set that was relatively new or new that were within budget was proving difficult.
Step forward AP Racing. So the general consensus is they're pretty similar to KW V1s (fixed dampening and rebound, adjustable height) just valved slightly differently and not featuring the Innox coating (to prevent seizing). They fit the budget too so it was looking pretty good.
The best bit was purchasing them. Given the number of companies offering the same product it was amazing to see the difference in price. Some the best part of £65 more expensive. The worrying part is these companies, even when given links weren't interested in price matching.
One of the companies, DC Performance (this isn't a plug by the way), I had responses via email from them within a matter of minutes. Incredibly helpful and were always willing to price match (and eventually ended up price beating the competition). Would have been rude to not go with them, so a huge thanks out to Dan!
Well the kit was delivered as promised a week later and excitement was an understatement.
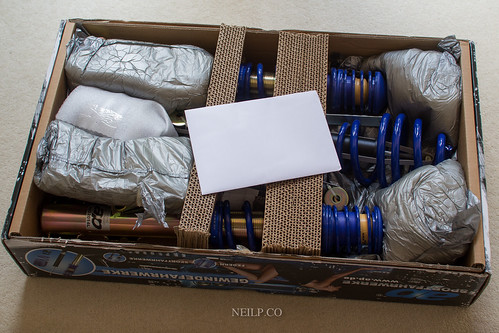
Tore at the box to reveal thepièce de résistance. Sure enough the build difference is noticeable compared to the v2's but at the end of the day if they do their job, I'm not complaining!
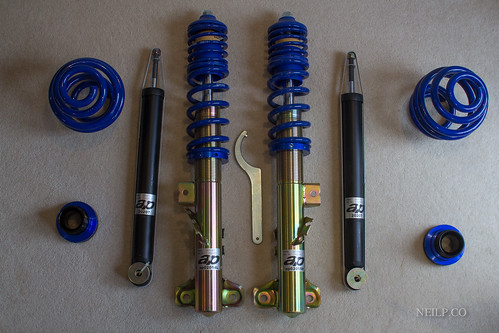
And a shot of it all.There were instructions also supplied (which did come in handy).
Now on to fitting. Well as said, one of the rear springs had snapped, so this was going to happen at some point anyway, the main issue was if it was going to be separate springs and dampers or an adjustable kit with the latter being my pick.
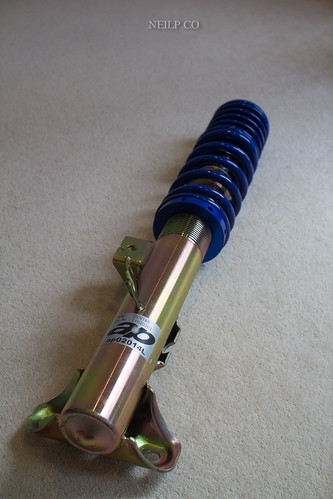
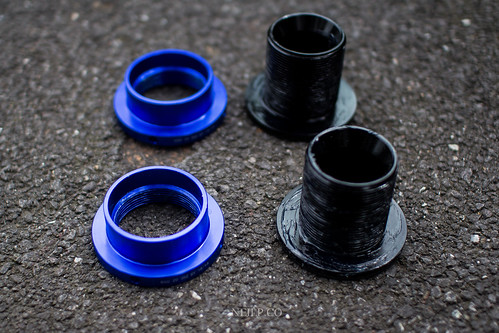
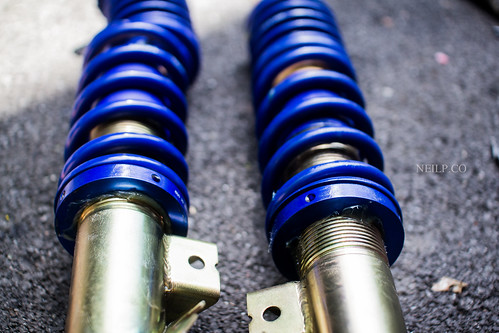
So, the passenger side:
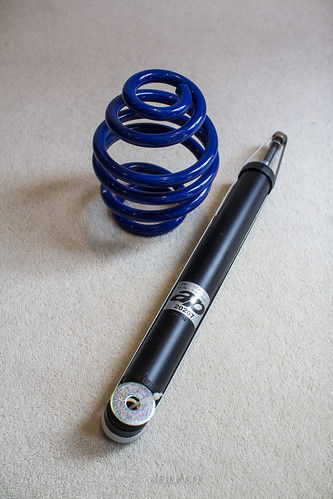
And the driver's side (slight difference due to a lack of one coil)
Due to the separate spring/damper setup on the rear, it made sense to tackle this first. And it was as simple as unbolt 4 bolts, replace and rebolt.
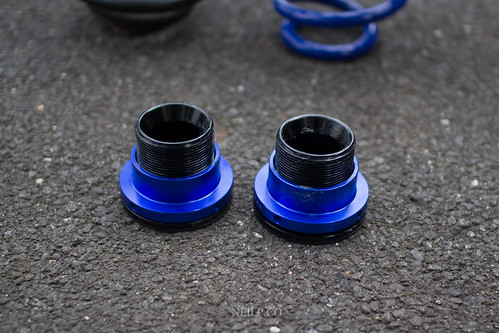
Before that, and although they had come pre greased, I took apart the rear adjusters just to completely cover them in grease to prevent them from seizing.
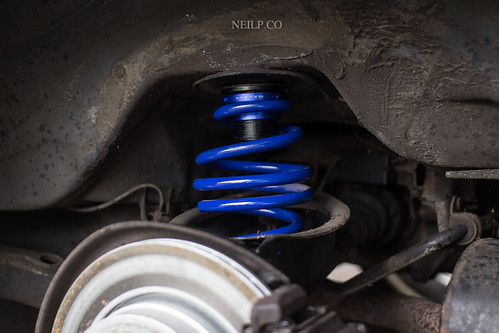
And then refitted them. As a benchmark, they're wound completely down (pretty much the height of the snapped spring before). After getting the car on the road, this may be subject to change (also dependant on what track wheel/tyre set up I opt for).
Fitted the spring with the adjuster first, then the damper and called it a day leaving the fronts to be tackled another day.
So far, not everything has gone buttery smooth, but there haven't been any major hiccups that couldn't be fixed, well while tacking the front I ran into some issues.
The first being that the passenger side damper was barely bolted to the top mount. Quite thankful I've not driven this car at all on the road after finding this out!
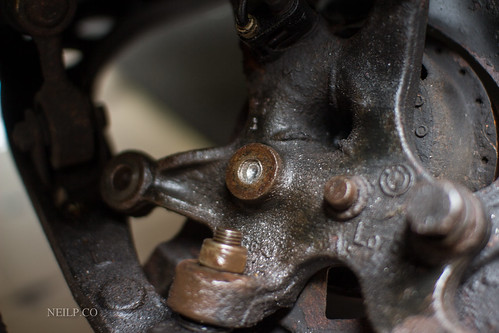
Back to the removal of the old kit, started with the top mounts and then worked on the knuckle to find one of the three bolts nigh on impossible to remove. After trying to shock it with the breaker bar it started to come free...or so I thought. Instead the head had snapped cleanly off leaving the remainder in the knuckle.
Didn't really panic as such, I had a stuck bolt for the brake disc so felt like a bit of a hero having the right tools...all for about 5 minutes until I attempted to drill a pilot hole for the bolt extractor.
A few snapped drill bits later I had a decent channel for the bolt extractor to sit in, hammered it in and started to turn it but nothing.
Started hammering further and ended up just bruising my hand trying to hold the extractor in place. Gave up and headed straight for ebay. Thankfully there was a knuckle for sale which was nice and cheap and aside from the age related rust, was in good condition.
Snapped it up and was delivered quickly.


Meanwhile, I also found a set of Gaz adjustable top mounts. Nothing wrong per say with the ones already there, but the extra camber adjustment would prove somewhat useful on the track so I scooped them up as well. The added benefit is it saves needing a spring compressor to remove one of the top mounts!

So the listing for the knuckle explicitly stated no abs sensor, not a big deal as I had one already which worked and threw no error code so I thought I'd just swap it over, and like a bad movie sequel, the screw holding the sensor in place decided to also give way (even after plenty of wd40 and a good scrub). Somehow didn't work out and the sensor snapped in the old knuckle...so a new one has been ordered up.
Anyways, to prevent the collar from seizing the threads were bathed in grease and then all put back together.
After that, it was a case of fitting the new kit in. Incredibly happy with the camber/castor mount over the fixed factory one. Once the car has mot, it will be off for a full alignment. Still undecided on what settings I'll be running though.
Well after fitting the wheel up and all that good stuff, I jacked the wheel up to get an idea of what it would be, needless to say there was a lot of tyre being tucked without even jacking it all the way.
Those die-hard static people would have been proud.
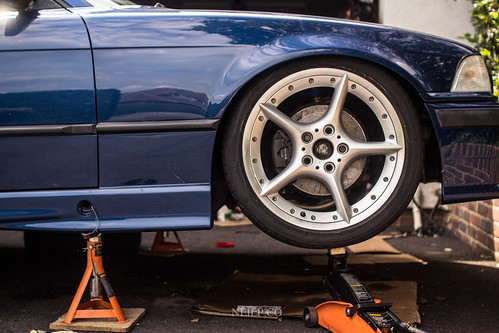
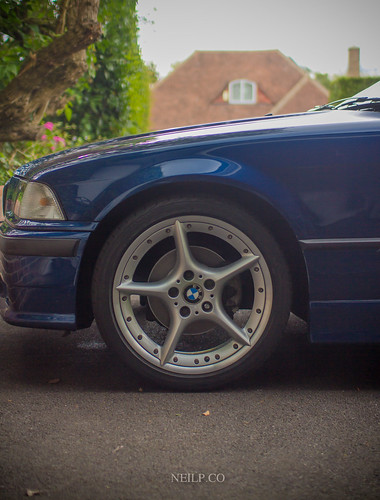
Patience got the better of me and I just lowered the car. I did set up the camber plates roughly for quite a lot of negative camber but HOT DAMN it looks good!
Sure there is a lot of tuck, but that's something that can be worked on with either a spacer or a new wheel (something 17x8 squared with a fairly low offset would be nice).
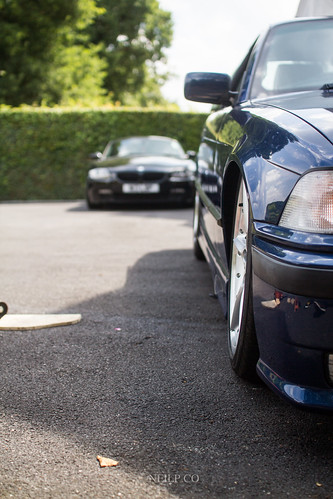
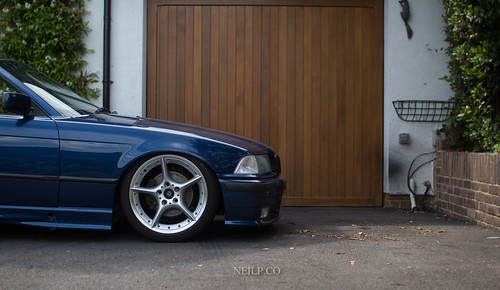
So I got the incredibly dumped e36 out of my system and then went about getting the car a little more 'usable' than just looking great being parked hard.
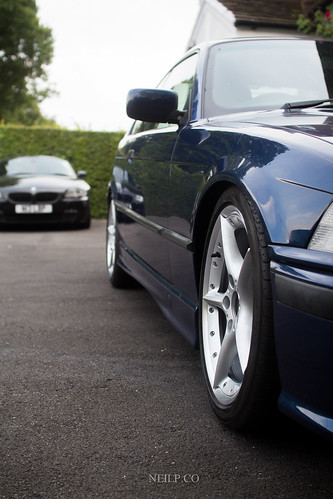
So the car is pretty much ready. I did mount auxiliary driving lights (which we'll save for another entry!)
Next on the cards is to get a new abs sensor in, bleed the brakes and space the wheels out (as they're currently rubbing on the spring.
Till next time!
P.S. If you've made it this far, thanks! :)
No comments:
Post a Comment