Saturday 15 February 2014

Dirty plugs and grease

I seem to be finding myself tackling one major service procedure a week now and this week the main task was to swap out the spark plugs.

Okay, I may have lied, swapping spark plugs really isn't a big job reality, but considering I've always paid someone else for my previous cars, I was a little tense while doing the swap.

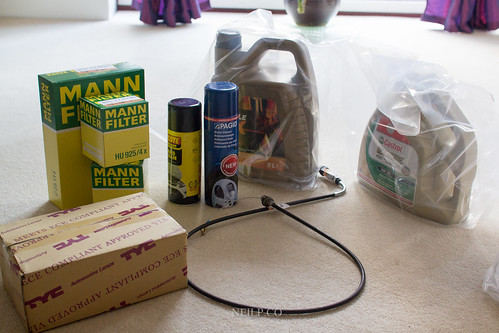
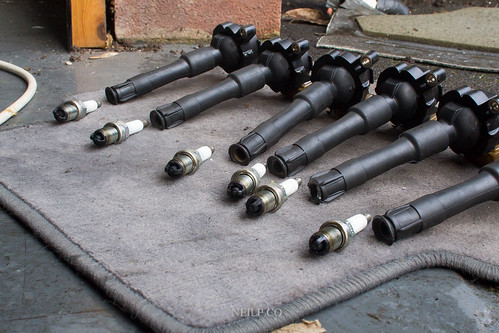
Ordered 6 of these...because the internet told me to (and as we all know, the internet is never wrong!)

41/365 Nothing like the feeling of car parts

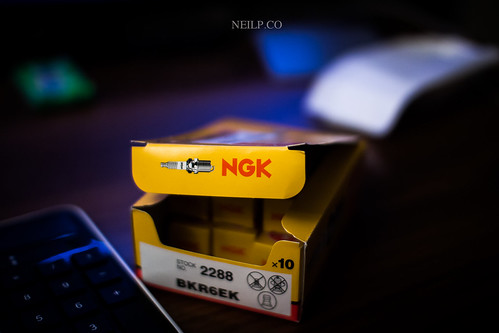
(Well I ordered these because they seemed to be the favourite choice by many and apparently are the oem ones used by BMW, according to other owners)

Started taking them all out, one by one, and yep, these plugs were black.

42/365 Blaaaaaaack plugs.

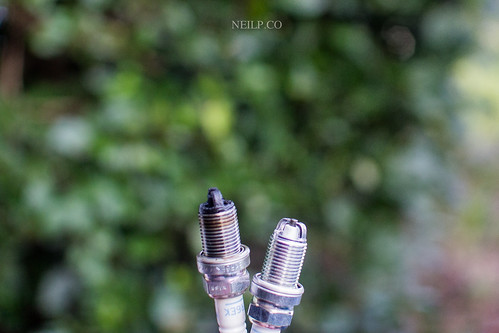
Lined them all up to compare them all (all consistent, must be a good sign at least, I hope!)

IMG_1101

Put it all back together and started her up. To my surprise (just kidding, I was quietly confident) it all worked as it should. Success.

Went in and had a bite to eat and proceeded to start studying, and then I remembered the intake manifold.

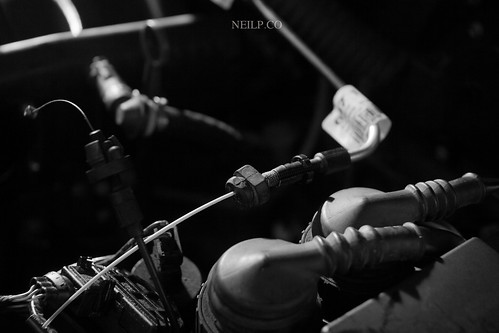
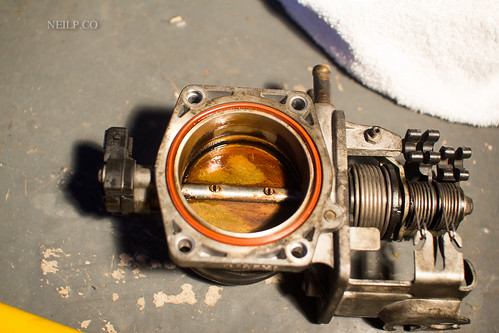
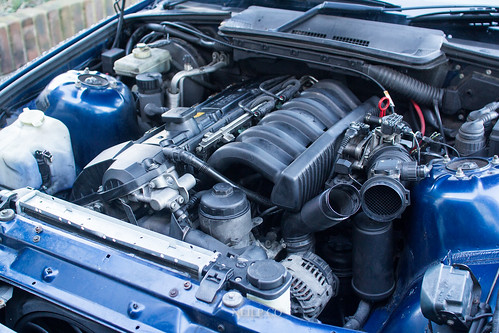
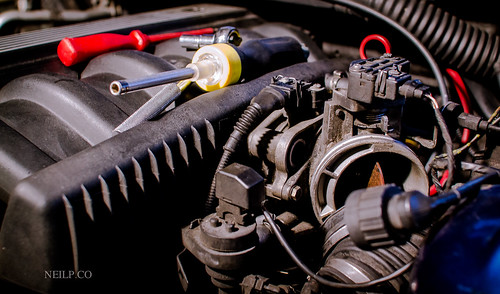
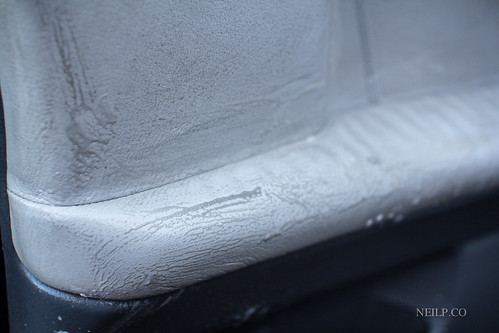
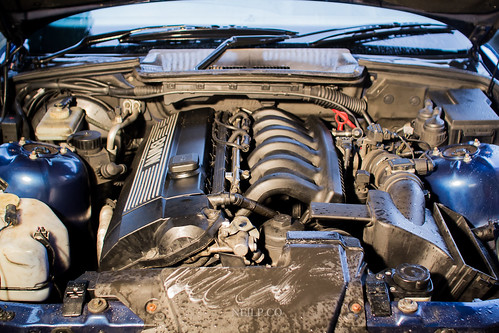
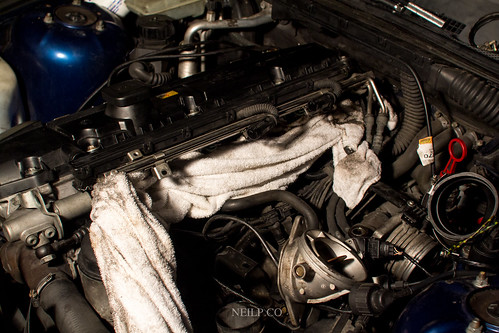
So when I was cleaning the throttle bodies, I noticed some oil in the intake manifold. Obviously this is normal, but I wanted it to be clean, purely for my own satisfaction.

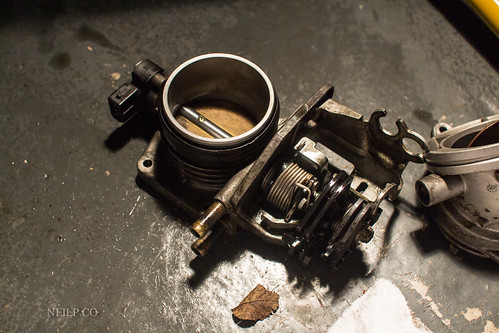
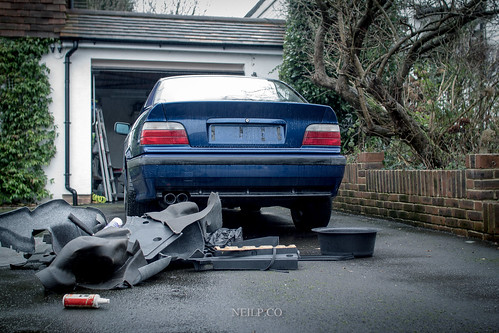
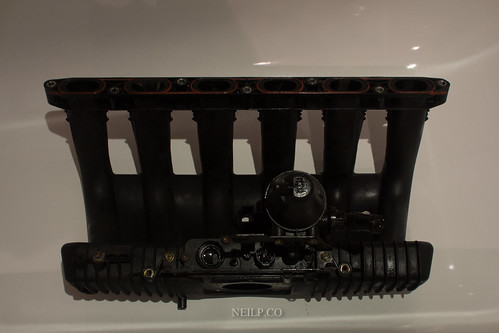
Proceeded to pack the books up and went out again to tackle dismantling the intake manifold. Leaving everything plugged in, the manifold came out relatively easily (surprisingly, I didn't actually look up how to do this and just winged it!)

I guess I adopted this attitude based on the fact I knew I have an m50 which I'm on the fence about fitting (for those unaware, it's basically bigger...allowing for more air to enter the engine resulting in more power with the right configuration)

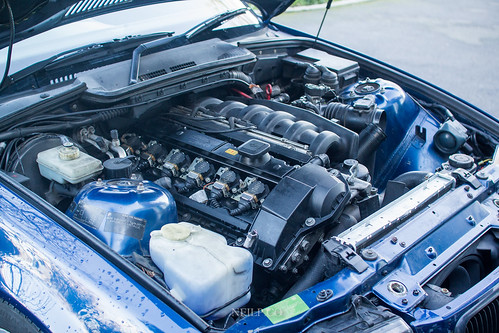
Draped a towel over the inlet to prevent dirt and such falling in.

IMG_1107

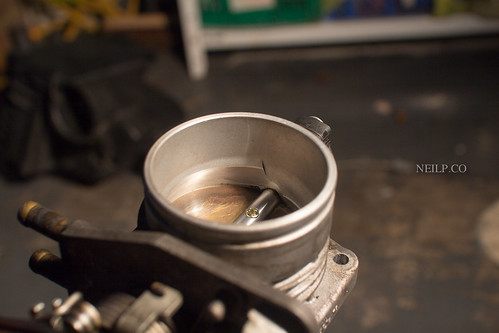
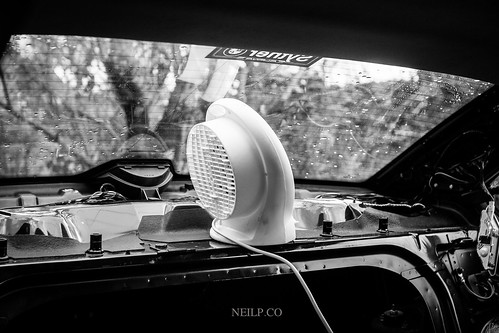
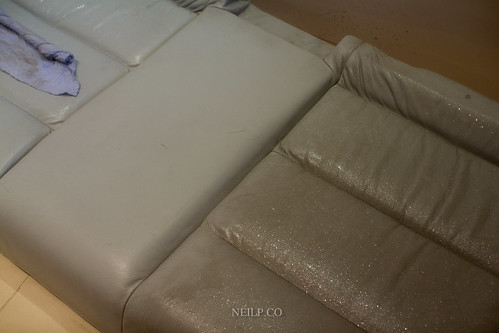
Placed the manifold in the tub and attacked it with a 50:50 mixture of APC (all purpose cleaner) and degreaser, neat of course, before leaving a clean manifold to sit next to a radiator to dry off naturally (will give it a blast of air before fitting again)

IMG_1111

And fitting is a reversal of the removal process. No major issues to report resulting in the car running smoothly with no issues!

Well that was after I had the engine unable to idle on it's own (plenty of swearing ensued) after refitting the cleaned intake manifold. Only to find I had forgotten to fit one of the vacuum lines! Fool!

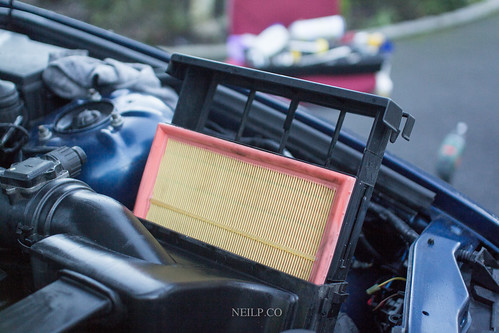
After reconnecting the hose up, the car just starting up and revving it (even on idle) all sounds and acts much healthier. It's actually amazing what a difference new oil, new filters, new spark plugs and a clean air intake system all makes! Pretty chuffed with myself so far but there's still a fair bit of work to get done before the car is ready for MOT and the track.

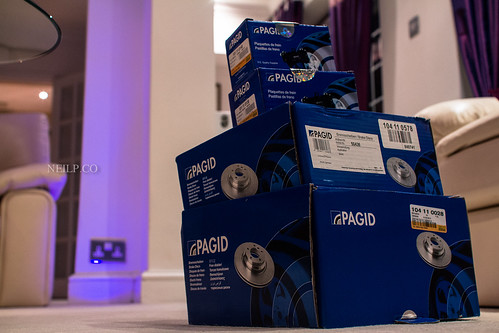
Also ended up ordering some new discs and pads. It needed to be done as the current set-up is shot (putting it nicely!) Next week's update should be interesting to say the least! (Purely because as with nearly everything so far with this build, I've never done it before!)

44/365 Leaning tower of car parts

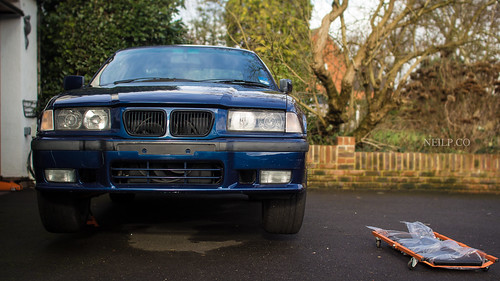
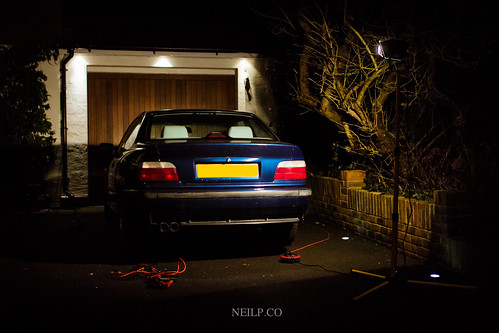
Oh, and filled her up a little too...

46/365 Refueling...again

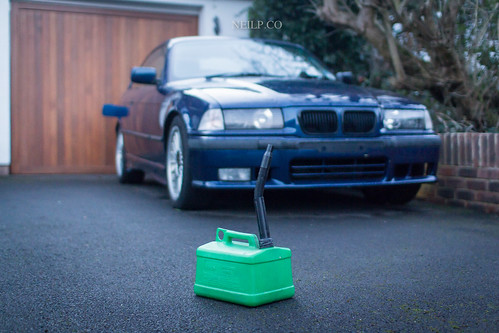
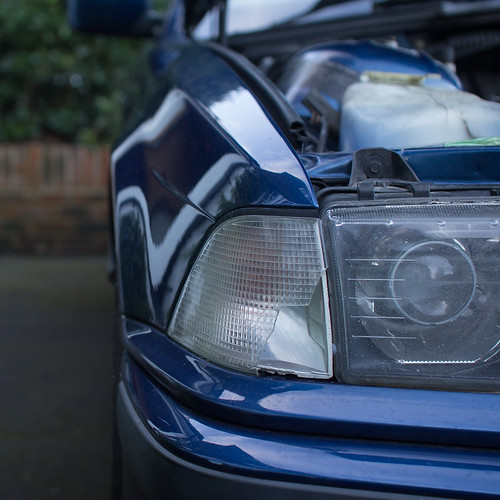
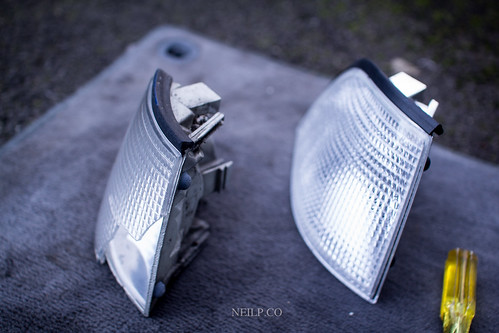
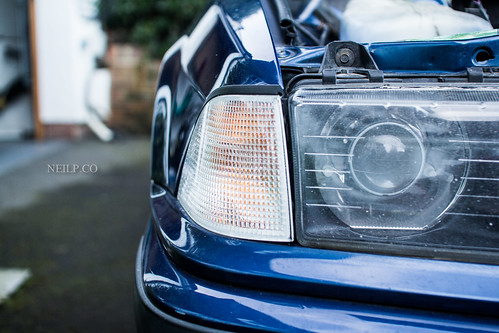
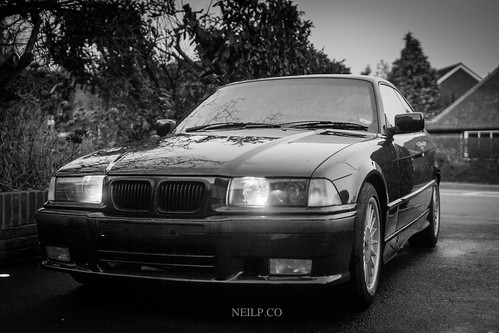
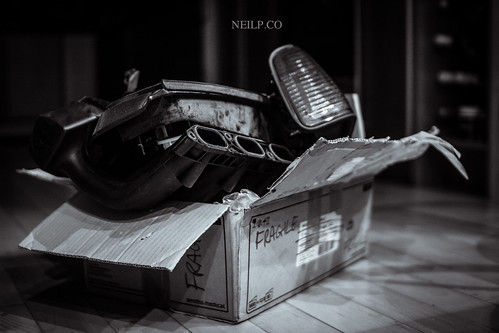
And yes she's missing a foglight, because I was experimenting with different options for increasing brake ducting (will be reusing my auxillary lights from my old Smart Brabus most likely (really do miss that car).

All done

Aaaaaand, that's a week!

Saturday 8 February 2014

New parts and service

Given the intended use for the car, I thought it would be wise to get the whole car in decent shape. Last week while giving the car a tear down, I made a list up of all the parts needed.

Ordered everything up and received a nice delivery of 4 boxes.

35/365

Checked everything was included. There was more in the boxes, but the parts below are relevant to the track build. Starting from the left and working across, the parts are as follows:


  • off-side indicator housing
  • air (x1) and oil (x2) filters
  • carb cleaner
  • brake cleaner
  • throttle cable
  • cheap oil for the first oil change
  • Castrol Edge to be used for the car


Service items

After taking five to play with the bubble wrap (not pictured) I decided to make a start on the car, firstly with the indicator housing.

Take one broken indicator:

Cracked

and one replacement...

Old vs New

will leave you with a respectable looking vehicle.

Better

Then I made a start with the throttle cable. Stripped everything off and removed the old cable (surprisingly an easy job). Ran the new cable through without any issues either.

New throttle cable

Whilst there, the throttle bodies (one serves as the traction control throttle body), were given a clean and a check to ensure they were in adequate working condition.

Before:

Before

And after:

After

After

There is a noticeable difference in the throttle response but the pedal still feels a little soft. This will be easily rectified with the new spring on order from BMW.

Content with the work completed, I refitted the throttle bodies and MAF leaving an oil change left to do. In time there will new coolant and spark plugs but given the steep learning curve, I'm taking things slowly and ensuring that all the work is being undertaken to the best of my ability.

A new day rolled along and a new task came with. My frist attempt at an oil service. Pull the drain plug, swap out a filter, refit the plug and fit new oil in. How hard could it be?

Not very at all as it turned out.

36/365 Jacked

Left the car for a good 40 minutes to drain as much of the old crap out as possible.

Waiting game

It was super blaaaaaaaack (Mighty Car Mods reference!)

IMG_1032

Opted for a Mann filter. Decently priced considering how often the oil will be changed.

clean filter

Tightened everything up, left it to idle for a while and checked the level a few times. All good so far. The plan is that once the car is on the road, will be undertaking another oil change pretty soon after, this time with an engine flush. Seems like it could use it.

Then came the clean up operation. Stripped back all the bits I could take off, and got to work with the degreaser and brush.

Stripped for cleaning

IMG_1049

And lastly a new air filter.

New Filter

Filter fitted

Next step was to put everything back, chuck another 5l of fuel in and call it a week!

38/365 That's week 2!

EDIT: V5C Came through today, new spark plugs, discs/pads, and a couple of rad bleed screws also ordered.

39/365 It's official

Sunday 2 February 2014

Sitrep: One week in.

Yes, the car has now been owned for a whole week. The obvious thing would be to see how far it's coming along.

Since the last update where I tackled cleaning the interior, there has been some more weight shedding, cleaning, and spending (to put it in a nutshell).

The cleaning came in the form of the air intake system in an albeit amateurish attempt at being a mechanic. (My skills pretty much stop at mechano sets for kids)

Ended up having a play with the traction control valve, removed all the plastic around the throttle pedal, saw the spring was in a bad way and ordered a replacement from BMW.

Long story short, all the parts needed a clean so that was at least progress, but ultimately it was the throttle cable that had stretched to the point of of needing replacement.

29/365

In addition to the throttle response, I decided to order up all the service items for the car. Having not known when the car was last serviced (the guy I bought it from was super sketchy with info since the car was in his ownership) I decided I'd end up changing the oil twice, drain it out completely, run fresh oil for a few hundred miles and change again after adding engine flush.

Filters was another hurdle I needed to get around. Given that the car will be approaching 100k and will be seeing gurling track days for most of it's life now, I thought it would be wise to swap out the fuel filter as well. Only issue is that BMW feel the need to charge a substantial amount for them. (No thanks, this is a budget build here). The same principle also applied to the oil filters, BMW charging twice the price for one. Given the application for the car, it would have more regular oil changes anyway so that wasn't an issue opting for a cheaper Mann filter from ECP.

The driver's side indicator was broken, so a replacement was ordered in for MOT purposes and I think that pretty much is a week of ownership now!

Will leave this here, because racekor obviously.

31/365 Racekor

Tuesday 28 January 2014

2. Interior clean.

Today the main aim was to get the car as clean as possible. After tackling the rear seats over the weekend, it certainly seems that the car had had some neglect in that department. As with the rear bench, it was a simple case of some Meg's APC (all purpose cleaner) and a brush to lift the dirt with a towel to wipe it all clean.

I guess I should let the pictures do the talking. Just a word to the wise, though the results are not entirely perfect, the seats are clean enough now to consider putting them up for sale.

I somehow managed to do the whole drivers side without even realising I didn't have a memory card in my camera, but realised before starting on the passenger side.

IMG_0884-Edit

Next came the door card itself. Rather than just a before and after (I've taken plenty of those now) here is a 'in progress' shot. You can see that the suds are an off white, due to the presence of the dirt that has been lifted from the material.

IMG_0880

Another problem I faced was a small leak in the rear. I'm probably assuming this was down to the multitude of holes drilled in the number plate area and when I washed the car, water managed to get into the car.

Had a few ideas how I'd have anticipated getting rid of the water that had condensed on the rear glass and settled on a heater (as there wasn't that much water and it was better than leaving the ignition on)

IMG_0873

And this pretty much sums up the work done today. Had the vacuum cleaner out as well to rid the interior of debris and relocated the C pillar lights into the boot area. (Though the picture below was taken prior to the work above!

IMG_0875

Lastly, knowing the reputation of e36's for overheating, I started looking into a way to manually override the auxiliary fan. Turns out that some people have turned it into a complex job, but it was as simple as just jumping two wires.

28/365 Aux Fan Override

All that is left now is to get a replacement interior (if one comes up), and perform a full service on the car (oil change, oil filter, air filter, new discs and pads as well as new coolant) before getting the car taxed and mot'd.

I guess the easy bit has been done, now comes the real work!

1. Purchase, Collection and the Beginning

Probably should have some record of my e36 323i track build, so rather than have the build on a multitude of different forums it's just going to be lumped here. Makes more sense given it's not really a show type car.

Anyways...

Long story short, I've wanted to start track days for a while, but didn't fancy doing so in my Z4. Searched high and low for a cheap car to use instead and ended up with an 323i at a bargain price. Oh, and it's in avus blue. (Pretty much saw the colour and wanted it from then on)

Arranged to see the car January 18th. Everything checked out with it, just didn't have any mot or tax, not a big problem given that the car wouldn't be used for the time being anyway. Walked away leaving a deposit and a manifold, throttle body, and tinted rear lights in hand, and a lot of paperwork.

19/365 Racekor parts

Started to look through the paperwork and even found the original receipt for the car from the first owner. Pretty nice touch there. The colour I can only assume was changed given that this was the initial order from Sytner BMW.

20/365 New Purchase

Managed to get her home and swapped out the battery immediately. Yeah it was cold and took forever as a result, but it had to happen then. Definitely as a result of the previous owner having declared the car off the road and not having had a conditioner on the battery.

Got the battery in and saw the voltage resting at 7v. Dead. Shot in the dark, hooked up the beaten battery up to a CTEK charger, set it to recondition mode and left it overnight. Woke up to a battery with a healthy floating voltage.

Unfortunately both batteries are a little on the heavy side and are flooded cells. Currently that will suffice but I'm on the hunt for a light dry cell battery which should be more than enough considering the car will be stripped of a stereo and all the unnecessary electronics (not that there were many to begin with on this car in all honesty!)

25/365 Becase Racekor

And then woke up the next morning bright and early ready to work on the car. Started with the engine. Degreasing it and finding any broken/missing screws/clips.

Will be making a list of all the service parts needed, will be putting in new filters, fluids and plugs. In addition to that, the brakes also need new discs and pads so that will be taken care of. Ideally I would like to run bigger brakes but for the time being while I'm still learning about the car, they should suffice. (Main reason I won't be doing the manifold upgrade for a while as I want to ensure the car runs smoothly first before doing any actual tinkering around.)

IMG_0842

Before that could begin though, had to stop and admire this wonderful sight. Some options BMW Individual have gotten horribly wrong, but this colour is certainly one of those they had got right!

26/365 AVUSBLAU

So she got a wash...and nothing else. Half debating if it's worth even claying, waxing and polishing, but knowing me, some of my best products will probably used to make her look good.

IMG_0856

Lost some weight. All the panels in the boot had to go, insulation and all. Spare tyre was out too as well as the rear seats and quarter panels with no intention of going back in. Weight saving is the motto. Though that rear could use a big wing on the back!

IMG_0845

and then set about getting busy with the interior...

IMG_0852

Essentially the interior was in pretty awesome condition, the only issue being that it was filthy! Got to work with some Meguiar's APC and a brush with a damp rag. With relatively little effort, they looked and felt practically brand new! Hopefully selling the full interior should pay for a new pair of bucket seats and harnesses! Given the car doesn't need to be driven, I'd happily sell the interior and wait around for a good deal on a new interior!