Sunday 12 April 2015

This is goodbye!

After the long overdue update the car passed it's MOT, was taxed, and insured!

Great feeling of achievement but then a spanner was thrown in the works. The subject of a little more oomph.

Hold back the tears!

It seems that my time with this e36 was short lived and a replacement was sourced! The reasons for the new replacement can be found on the new blog!

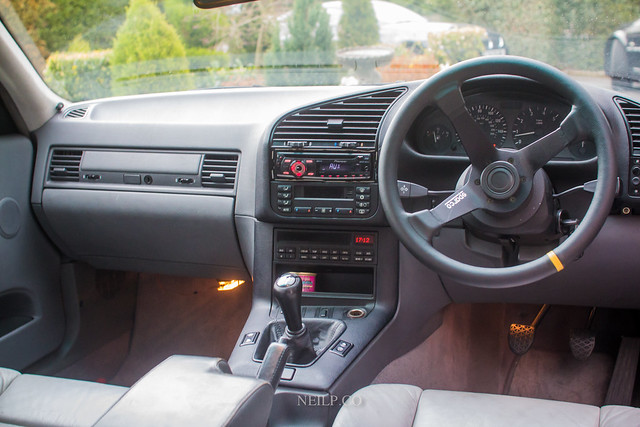
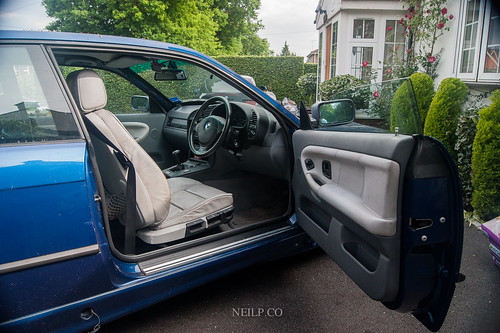
As such the e36 has been returned back with all the factory interior including wheel.

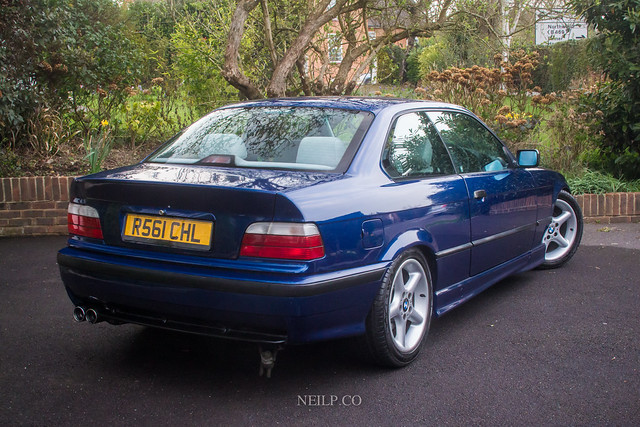
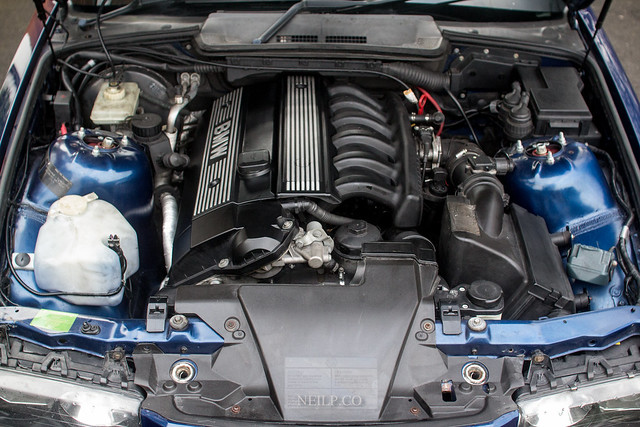
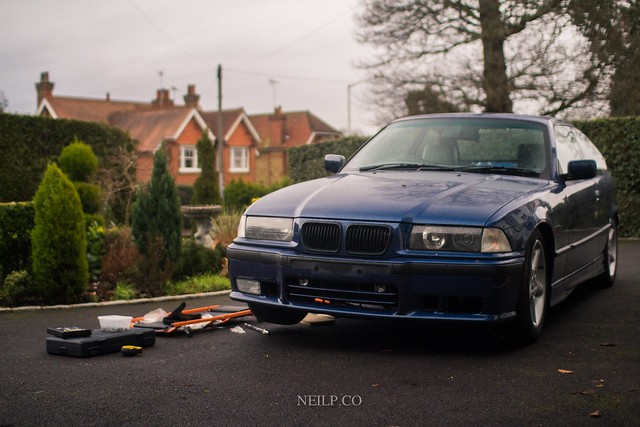
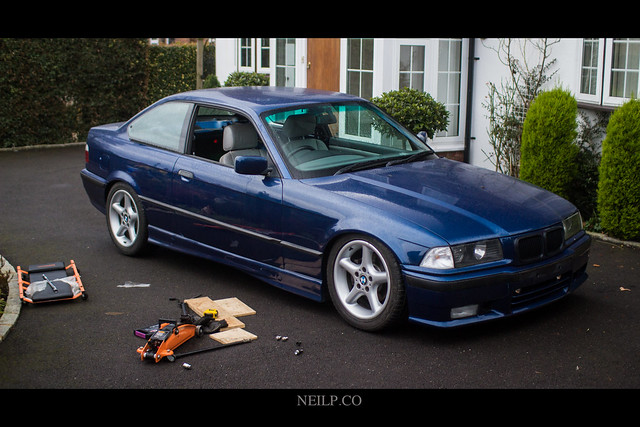
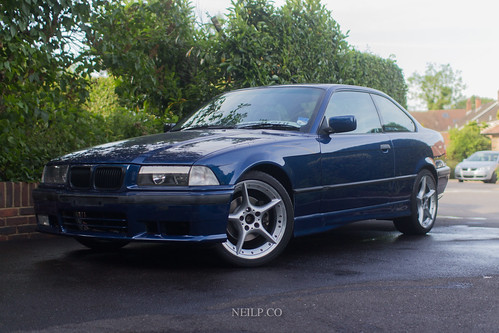
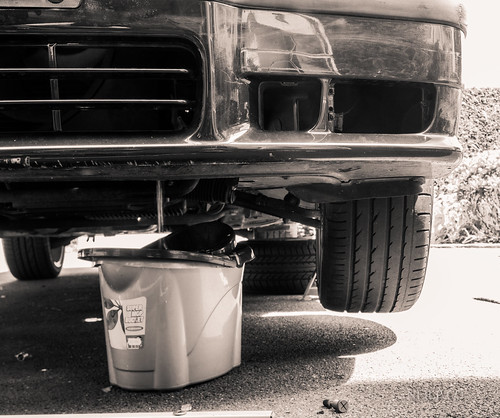
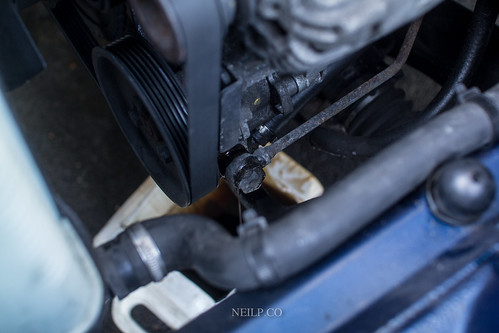
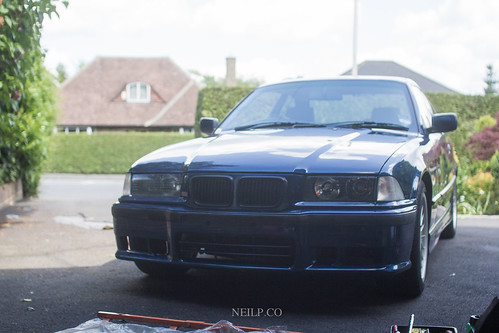
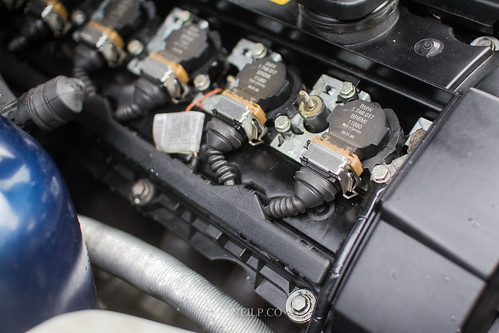
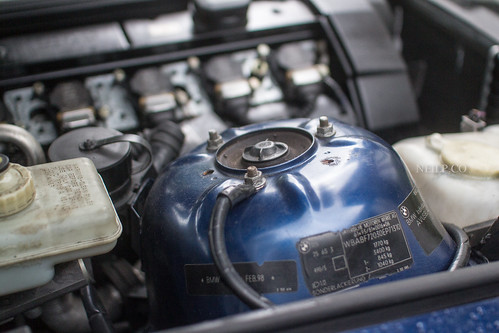
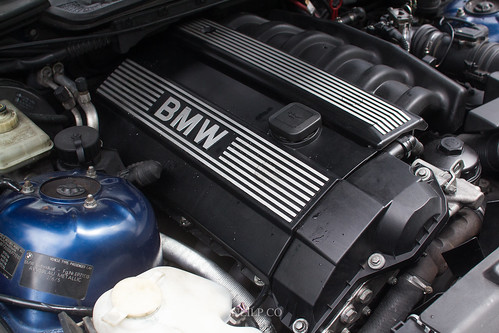
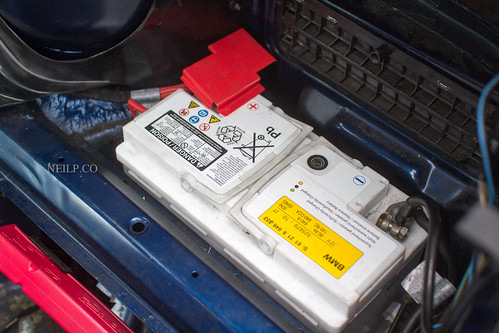
A little over a year later, a few new parts here and there, a lot of time spent learning and working on the car, as well as just under 300 miles covered on the road resulted in this:

IMG_1456

IMG_1480

IMG_1466

IMG_1469

The car has scrubbed up really well considering what state it was in when purchased. Well, onwards and upwards as they say! The replacement will now be taking centre stage for all track associated antics!

Thanks for reading this build!

Thursday 5 February 2015

New Year. New Focus.

With the car now being a year old (to me), I've come to realise I'm much lazier than I anticipated. That or I had studies/exams take up too much of my time. I think for my best interests, I'll put it down to studying.

Well with all of that out of the way, I've begun to get the final pieces all sorted before the car is on the road, starting with a new set of wheels. The main reason for this, as probably said previously is both my Alpina Softlines and BMW 108's are too heavy. To add to that, both sets need spacing to clear either the struts or rear of the car.

Enter the new wheels, not as wide as I'd like, but for the price and all other things considered, they're on and they work well.

IMG_1160

Following the wheels being on, it was time to get rid of that awfully high ride height. It was purely there to get the Softlines to fit. In the infamous words of Moog and Marty from Mighty Car Mods..."first jack up your car!"

Height Adjust


Now we're beginning to get somewhere it seems!

New Wheels

Though probably not all that useful, I ended up getting some of the missing trim for the front bumper. One of the brake ducts was missing on the driver's side as was the arch lining. To save cleaning up the bay on a regular basis, I sourced the necessary parts and bolted them back (in some cases, with the aid of some trusty cable ties!)

Next on the list is to tackle the noisy power steering pump. After having swapped out the fluid last year, I have a feeling that it has an inevitable from a clamp that needs adjusting. Thankfully I've some spare hose clamps, so a bit of scrubbing, new clamps, and new fluid should solve that issue. If not, a new rack, with an electric pump will probably go in. The general consensus is that certain z3/e46 racks do speed up the steering, not that I'm an expert driver or anything, but if it's going to be replaced, might as well upgrade.

With a bit of luck, the car should be insured by the end of the week, and will be booked in for its MOT at some point next week. All providing a new steering wheel comes before then!

Once the car is on the road, I will probably concentrate on sourcing a 328i exhaust. Not that the current setup is bad, but there is some power to be extracted from the additional flow offered by a true dual pipe setup. In my insanity, I'm lusting over a centre exit on top of that. Depending on what bits I'm able to find, it may be a possibility.

Saturday 12 July 2014

Suspension.

Safe to say the shocks and springs were tired. Rear driver's side spring had snapped. Front springs had paint peeling and some rusting. Front dampers certainly weren't new. The rear dampers did look like they had been replaced somewhat recently but probably wouldn't appreciate a shorter spring.

So came the headache that is picking suspension. In an ideal world I'd have splashed out on a set of KW V2s. Ran them on my Smart Brabus and again on my Z4. Perfect balance of comfort and performance and the build oozes quality. (I guess I am a sucker for KW products!)

But the main issue with it being a budget build is that KW's aren't on the cars. There was a kit that surfaced on eBay, but the state and age of the kit was questionable...and the seller wouldn't budge from his asking price of £500 for a used kit from 2010. Good luck.

I then started getting excited about slapping in some budget coils. Cheap and cheerful. Seems to get decent enough reviews on places like tramp drift and those looking to deck their cars...but I don't want to just park the car hard. I do want to use it.

Setting about finding a kit in between something like a set of V2's and the cheapest of the cheap kits from BC and HSD became incredibly tempting. The only issue was finding a set that was relatively new or new that were within budget was proving difficult.

Step forward AP Racing. So the general consensus is they're pretty similar to KW V1s (fixed dampening and rebound, adjustable height) just valved slightly differently and not featuring the Innox coating (to prevent seizing).  They fit the budget too so it was looking pretty good.

The best bit was purchasing them. Given the number of companies offering the same product it was amazing to see the difference in price. Some the best part of £65 more expensive. The worrying part is these companies, even when given links weren't interested in price matching.

One of the companies, DC Performance (this isn't a plug by the way), I had responses via email from them within a matter of minutes. Incredibly helpful and were always willing to price match (and eventually ended up price beating the competition). Would have been rude to not go with them, so a huge thanks out to Dan!

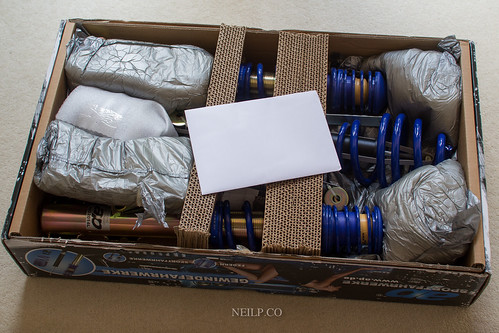
Well the kit was delivered as promised a week later and excitement was an understatement.

IMG_7124

Tore at the box to reveal thepièce de résistance. Sure enough the build difference is noticeable compared to the v2's but at the end of the day if they do their job, I'm not complaining!
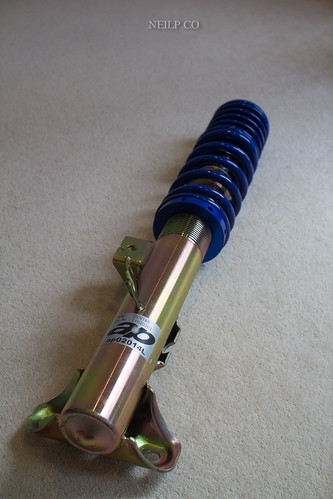
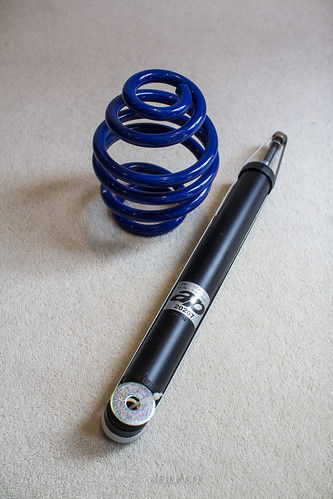
IMG_7140

IMG_7134

And a shot of it all.There were instructions also supplied (which did come in handy).
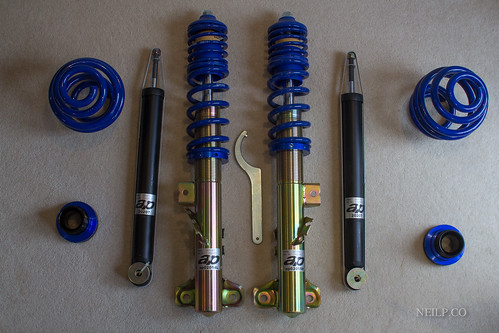
IMG_7147

Now on to fitting. Well as said, one of the rear springs had snapped, so this was going to happen at some point anyway, the main issue was if it was going to be separate springs and dampers or an adjustable kit with the latter being my pick.

So, the passenger side:

IMG_7152

And the driver's side (slight difference due to a lack of one coil)
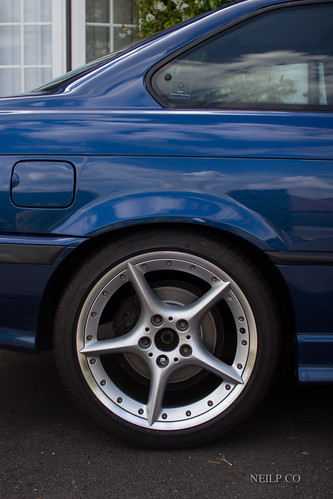
IMG_7171

Due to the separate spring/damper setup on the rear, it made sense to tackle this first. And it was as simple as unbolt 4 bolts, replace and rebolt.

Before that, and although they had come pre greased, I took apart the rear adjusters just to completely cover them in grease to prevent them from seizing.
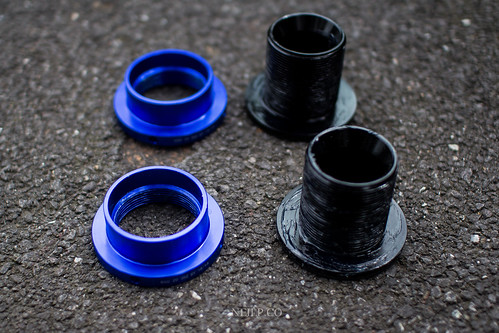
IMG_7159

And then refitted them. As a benchmark, they're wound completely down (pretty much the height of the snapped spring before). After getting the car on the road, this may be subject to change (also dependant on what track wheel/tyre set up I opt for).
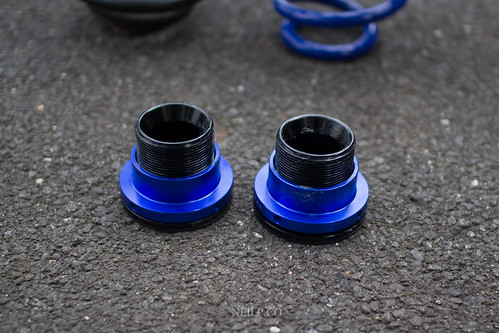
IMG_7164

Fitted the spring with the adjuster first, then the damper and called it a day leaving the fronts to be tackled another day.
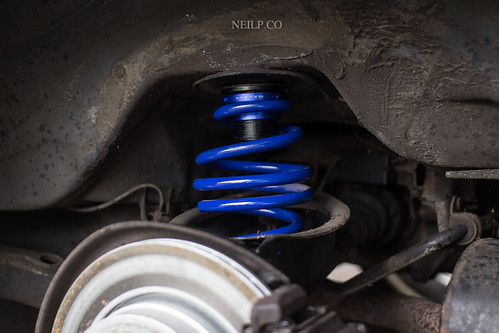
IMG_7167

So far, not everything has gone buttery smooth, but there haven't been any major hiccups that couldn't be fixed, well while tacking the front I ran into some issues.
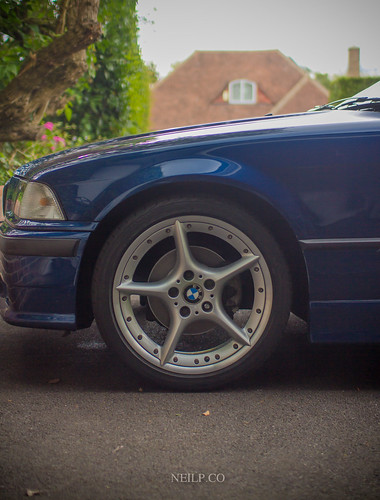
IMG_7180

The first being that the passenger side damper was barely bolted to the top mount. Quite thankful I've not driven this car at all on the road after finding this out!

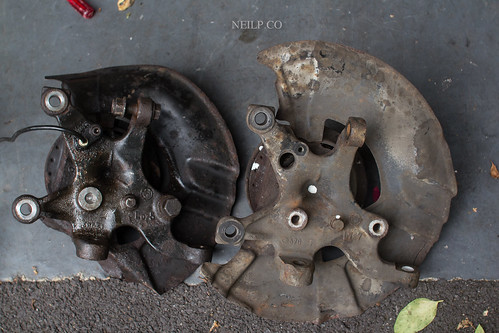
Back to the removal of the old kit, started with the top mounts and then worked on the knuckle to find one of the three bolts nigh on impossible to remove. After trying to shock it with the breaker bar it started to come free...or so I thought. Instead the head had snapped cleanly off leaving the remainder in the knuckle.
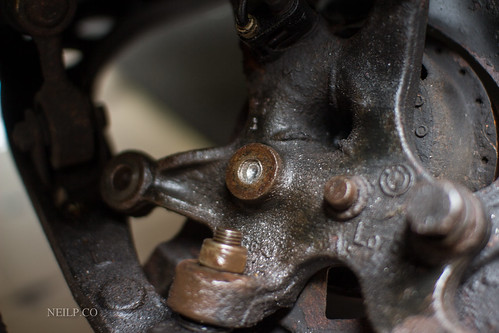
IMG_7184

Didn't really panic as such, I had a stuck bolt for the brake disc so felt like a bit of a hero having the right tools...all for about 5 minutes until I attempted to drill a pilot hole for the bolt extractor.

A few snapped drill bits later I had a decent channel for the bolt extractor to sit in, hammered it in and started to turn it but nothing.

Started hammering further and ended up just bruising my hand trying to hold the extractor in place. Gave up and headed straight for ebay. Thankfully there was a knuckle for sale which was nice and cheap and aside from the age related rust, was in good condition.

Snapped it up and was delivered quickly.
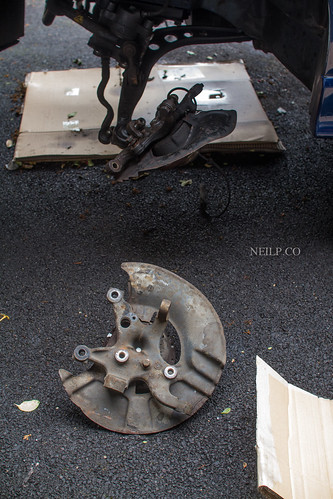
IMG_7188

IMG_7190

Meanwhile, I also found a set of Gaz adjustable top mounts. Nothing wrong per say with the ones already there, but the extra camber adjustment would prove somewhat useful on the track so I scooped them up as well. The added benefit is it saves needing a spring compressor to remove one of the top mounts!
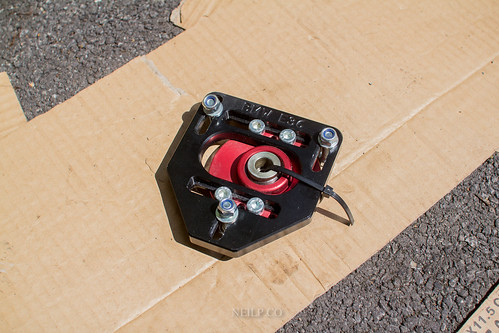
IMG_7191

So the listing for the knuckle explicitly stated no abs sensor, not a big deal as I had one already which worked and threw no error code so I thought I'd just swap it over, and like a bad movie sequel, the screw holding the sensor in place decided to also give way (even after plenty of wd40 and a good scrub). Somehow didn't work out and the sensor snapped in the old knuckle...so a new one has been ordered up.

Anyways, to prevent the collar from seizing the threads were bathed in grease and then all put back together.
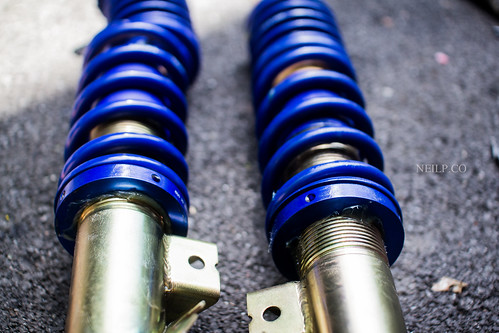
IMG_7194

After that, it was a case of fitting the new kit in. Incredibly happy with the camber/castor mount over the fixed factory one. Once the car has mot, it will be off for a full alignment. Still undecided on what settings I'll be running though.

Well after fitting the wheel up and all that good stuff, I jacked the wheel up to get an idea of what it would be, needless to say there was a lot of tyre being tucked without even jacking it all the way.

Those die-hard static people would have been proud.
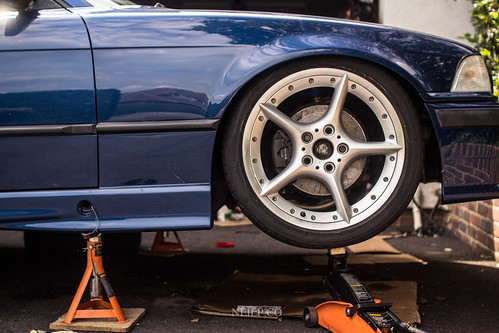
IMG_7196

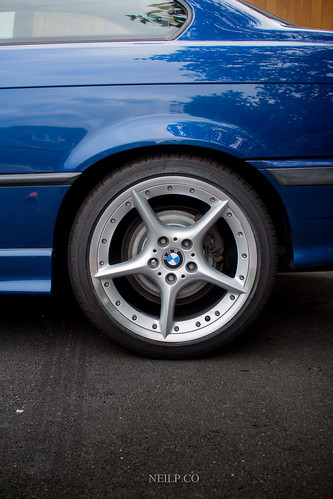
Patience got the better of me and I just lowered the car. I did set up the camber plates roughly for quite a lot of negative camber but HOT DAMN it looks good!

Sure there is a lot of tuck, but that's something that can be worked on with either a spacer or a new wheel (something 17x8 squared with a fairly low offset would be nice).
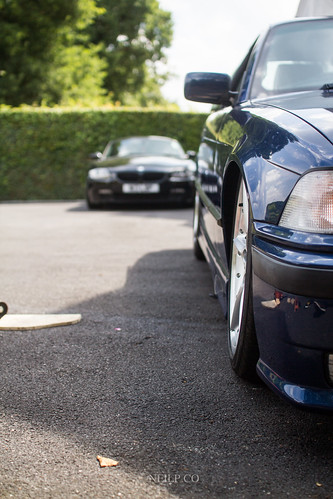
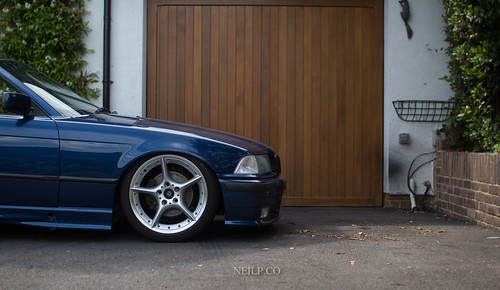
IMG_7197

IMG_7199

So I got the incredibly dumped e36 out of my system and then went about getting the car a little more 'usable' than just looking great being parked hard.
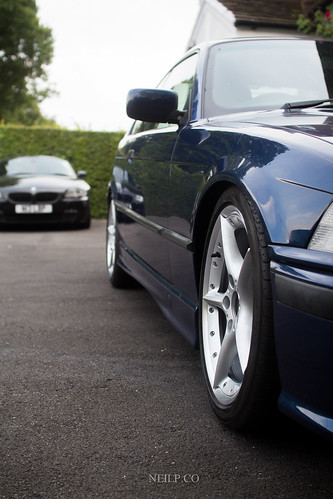
IMG_7216

So the car is pretty much ready. I did mount auxiliary driving lights (which we'll save for another entry!)

Next on the cards is to get a new abs sensor in, bleed the brakes and space the wheels out (as they're currently rubbing on the spring.

Till next time!

P.S. If you've made it this far, thanks! :)
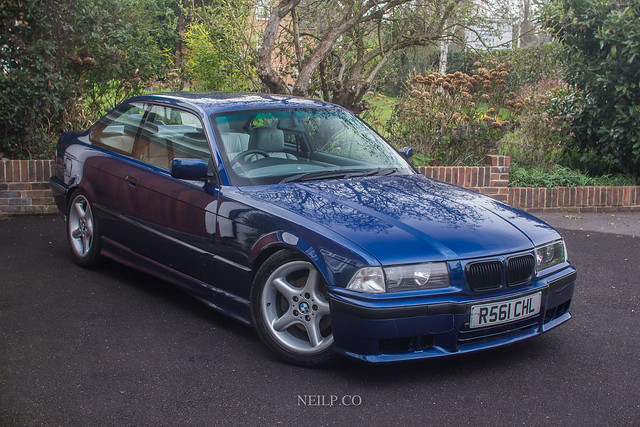

Sunday 8 June 2014

Minor jobs and new wheels.

More progress! (no major jobs, but progress is progress!)
Received my results for my last semester at university. Given the tyres (although legal) are in a pretty shoddy condition, I did a burnout. Because I can.

IMG_1634

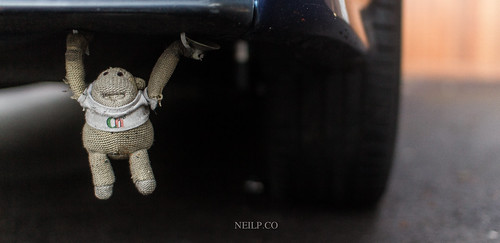
Even the monkey got covered in rubber.

IMG_1638-Edit

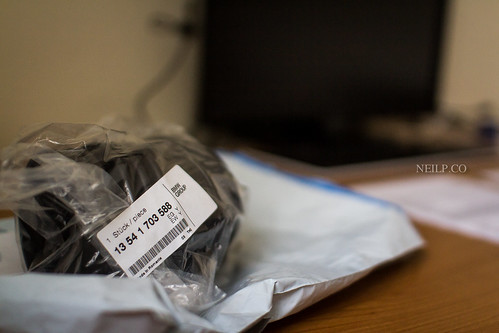
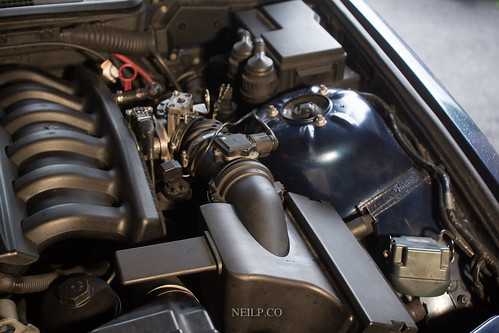
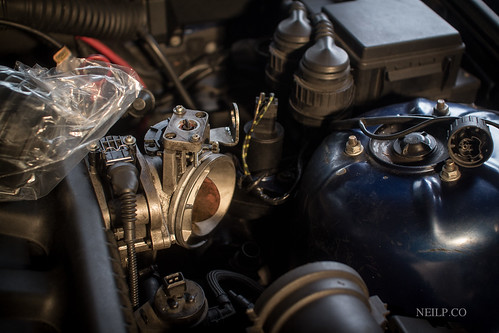
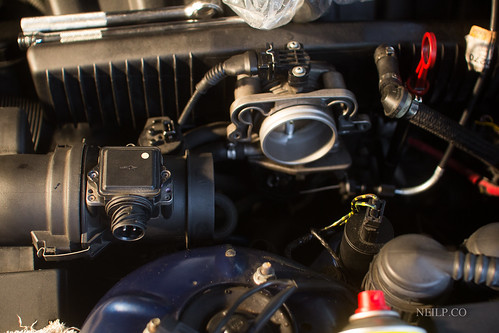
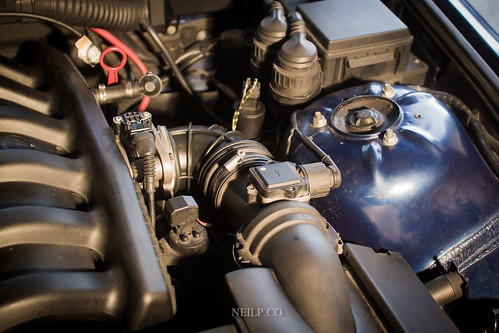
Right, down to business. Enough messing about. Set about removing the traction control throttle body, luckily BMW offer an intake boot for cars without the additional throttle body.

Part number: 13 54 1 703 588

 148. ASC delete

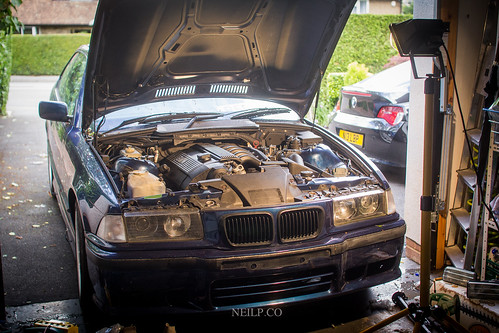
The issue (as nearly always it seems) is the weather. After getting all the parts ready, the heavens decided to open. Not a big deal however, drive the nose of the car into the garage, partly close the door and add a floodlight. Result!

IMG_1687

This job was as simple as removing and refitting. Nice and simple.

Before:

IMG_1688

During:

IMG_1690

IMG_1692

And after:

149. No more ASC.

Like a glove! With the added bonus of being a little tidier than before. I've left the ASC throttle body actuator plugged in with the wire removed. Saves needing to fuss around with the right resistor and worrying about blowing it.

Next on the list was trying to route more air into the airbox. The main issue currently is one of the clips from the airbox to the maf sensor is broken, there isn't an air leak, but I would like to get it replaced at some point.

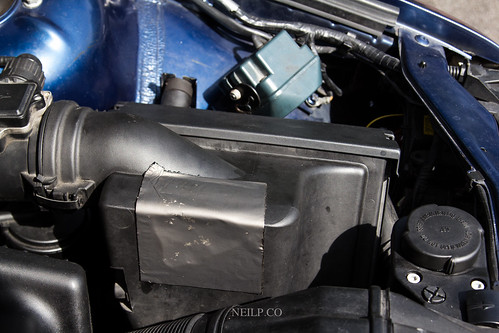
Whilst removing the airbox I did manage to snap a baffle, so some flashing tape made for a temporary repair. On the replacement box, this may be something I consider, obviously sealing it with better tape. I think it may reduce internal air turbulence, probably won't affect power but would make for an easier job to wrap the box in heat resistant tape to reduce heat soak.

IMG_6669

For those who have the misfortune of following me on Twitter; you'll know I had some issues with my Z4 wheels (style 108's) corroding. Considering it happened  within such a short space of time...long story later, Sytner refurbished all 4.

My track car has 4 shoddy tyres and wheels in awful condition. I have a clean set of refurbished wheels with decent tyres sitting in the guest bathroom. I put two and two together and this happened.

IMG_6680

First things first, I know it's sky high. That's not a big deal for now. However, the car did appear to desperately need a change of coolant.

Rather than potentially screw up fresh coolant, I opted to do a run with just plain water and make sure I know what I'm doing.

IMG_6673

Turns out it was pretty easy to do. Drain plug at the bottom of the radiator, two hoses off and remove the rear drain plug. Hook a hose up and flush the system.

Next on the list was to tackle to noisy power steering. Checked the reservoir and it was on the empty side. Drained what fluid there was and refilled.

IMG_6675

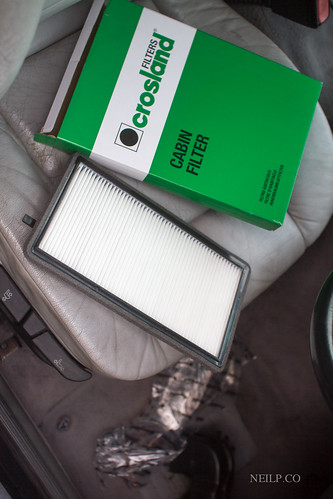
And the last small job that was left, fit a new cabin filter as the old one was grubby.

IMG_6682

Oh and one more thing, I refitted the door cards. It was becoming too much of a hassle to keep rolling the window down when I wanted to close the door and it wasn't so sightly having the weather guard on display.

151. Door cards are back

Thursday 22 May 2014

Time for a long overdue update...


The car is nearly ready to be MOT'd! After taking some time off to finish my final exams I managed to put in enough time to get the car ready.


Back to car pictures...

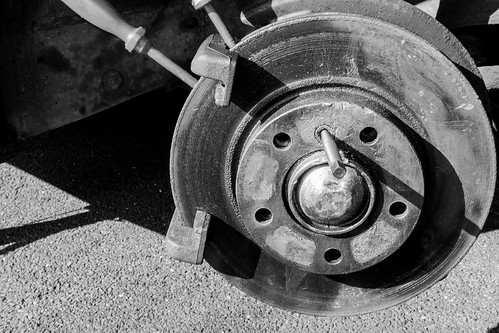
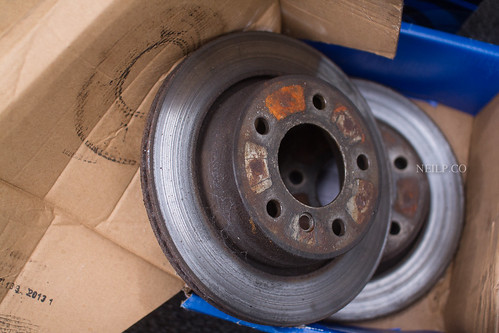
First things first, finished off new brakes and pads. Probably could have got the old rotors skimmed but for piece of mind and all that it made sense to chuck new discs in. I thought a disc and pad change would be pretty simple...until finding that the disc retention screw became seized resulting in a trip to halfords to ask for a bolt extractor. Needless to say most of the people there had no idea they even sold them. Useless!

68/365 The difference using the right tools makes

As you can see, I tried everything to get the thing out before resorting to an extractor set and nothing worked.

135. Old Rotors

Next the issue was compressing the calipers. One in particular refused to compress. In the end a C clamp saw to it that it worked.

Zip Ties Fix everything

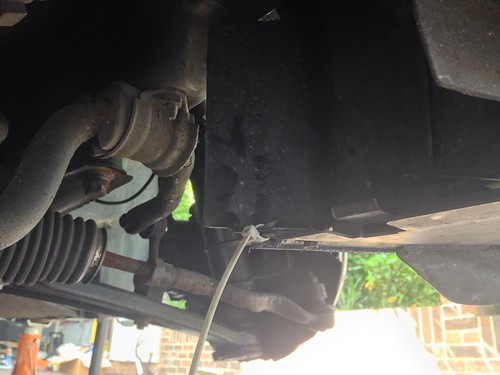
Whilst down there, I decided to put back the arch liner to find the fixing point was broken. Of course, nothing that drilling a hole and some zip ties won't fix.


134.  Ready to roll

Set the car back on 4 wheels and that was that job sorted.

As part of all my cars, I always upgrade the earthing straps from the engine block to the chassis and the battery negative to the chassis.

Given the application, an extra run of 4 gauge would suffice. Running 0 gauge, as beneficial as it is, felt a little overkill. With that said, there are plans to run a smaller battery and relocate it so a 0 gauge earth may be sufficient when the time comes.

136. Engine Earth

Given that surprisingly enough the factory strap was in good condition, I ran this to the shock tower to keep it slightly shorter than it would otherwise have been.

IMG_1615

And with the cover back on, everything looks nice and clean.

IMG_1630

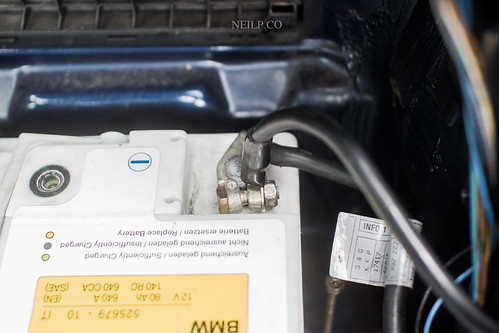
The battery also saw another earthing strap in addition to the oem one.

137. Battery Earth

IMG_1624

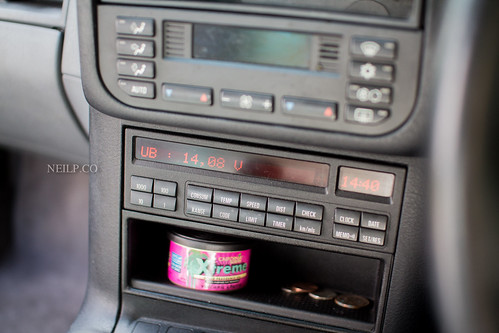
The earth upgrade along with a decent charge of the battery saw the voltage recover from 13.5v to 14.08v.

138. Voltage sorted

Another minor job that needed to be taken care off for the MOT purpose was the hid kit which was (badly) fitted by the previous owner.

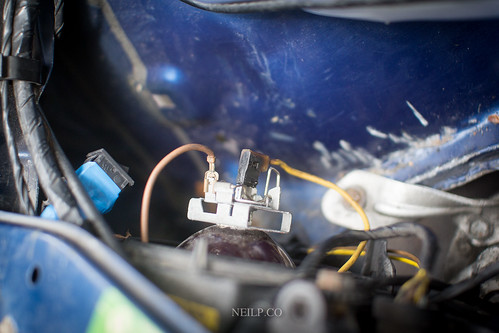
The 55w 4300k kit clearly drew way too much current from the factory wiring given the + terminal was black and melted (not to mention it got incredibly hot).

140. Burnt Connector

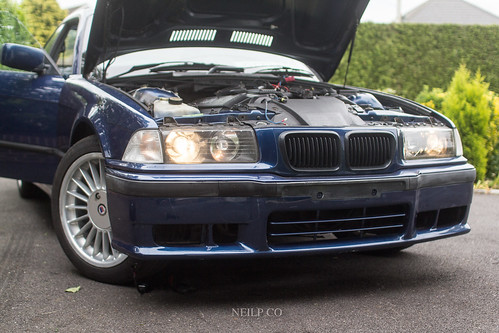
At least now it will pass MOT with no issues there and no unnecessary attention from police etc. Win win.

139. Ditched the HID's

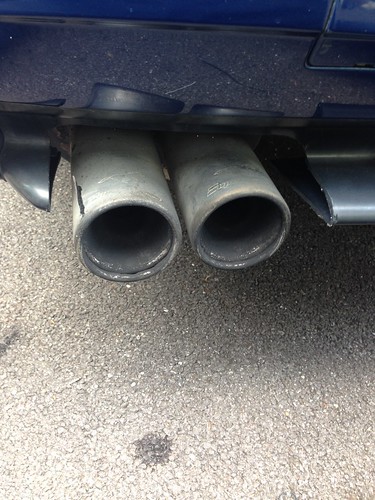
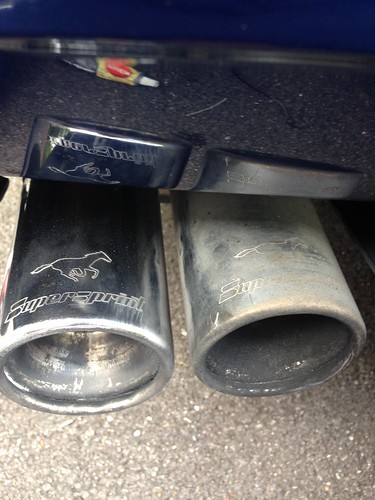
Although a 323i with a single pipe from the front to the back, it came with a Supersprint exhaust.That (along with a lot of the car) had seen better days...

Untitled

A dab of autosol with some elbow grease saw the tips polish up quite nicely. At some point I'd like to swap the exhaust for a 328i variant. Dual pipe front and back allows for more flow and factoring in the m50 manifold due to be fitted at some point, it would help boost the pony count a little!

Untitled

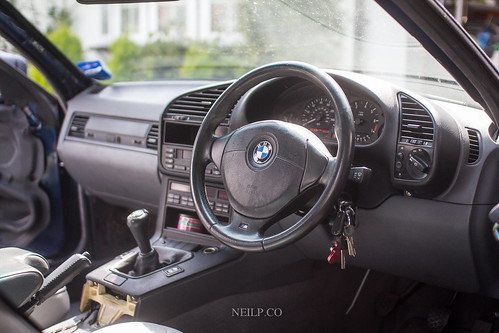
And an interior shot for the fun of it. (Also removed the headlining as it wasn't that essential, no pictures though)

Dash

All that remains now is to get the rear spring fixed (potentially eyeing up new coilovers) and get the old girl insured, mot'd